Let’s say you’re baking a cake, and you need to check on the progress. You open the oven door, but instead of being able to see inside easily, it’s like peering into a black hole. This light not working can challenge cooking and even pose safety risks.
The most common cause of a dimmed or non-functioning oven interior light is a burned-out bulb. Over time, these bulbs can wear out from extensive use or get blown due to electrical spikes. However, there could also be underlying issues, such as faulty wiring or malfunctioning sensors, that are preventing the light from working properly.
Don’t worry! EZFIX Repair Company is here to help shed some light on the situation!
If you’re experiencing this problem, it’s best to leave it to the professionals. Our expert technicians have the knowledge and tools necessary to diagnose and repair any issues quickly and efficiently.
Causes of a Dimmed Oven Interior Light

If your oven light isn’t working, you won’t be able to check to see the progress of your food without opening the door and letting the heat escape. Without a working light, you might accidentally overcook or undercook your dishes.
A dimmed interior light can be caused by several factors, and it’s important to identify the specific issue in order to address it properly.
The information you need to understand the possible causes of a dimmed light and how it can impact your cooking experience is down below.
Here are some of these common causes:
- Burned-Out Light Bulb: The problem is probably because of a burned-out bulb. Ovens use a standard 40-watt incandescent appliance bulb to illuminate the interior. Over time, they can burn out or get blown due to electricity spikes.
- Loose or Poorly Connected Bulb: Sometimes, the light bulb may not be securely screwed into its socket or may have a loose connection.
- Faulty Light Socket: The socket that holds the light bulb may be damaged or faulty.
- Wiring Issues: Wiring problems can also lead to dimmed lights. Loose or damaged wires can disrupt the flow of electricity to the light.
- Electronic Control Board Issues: In some modern ovens, the control board may be responsible for controlling the light. If the control board is malfunctioning, it can affect the brightness of the light or cause it to dim.
- Voltage Fluctuations: Voltage fluctuations in your home’s electrical supply can also affect the brightness of the oven’s light.
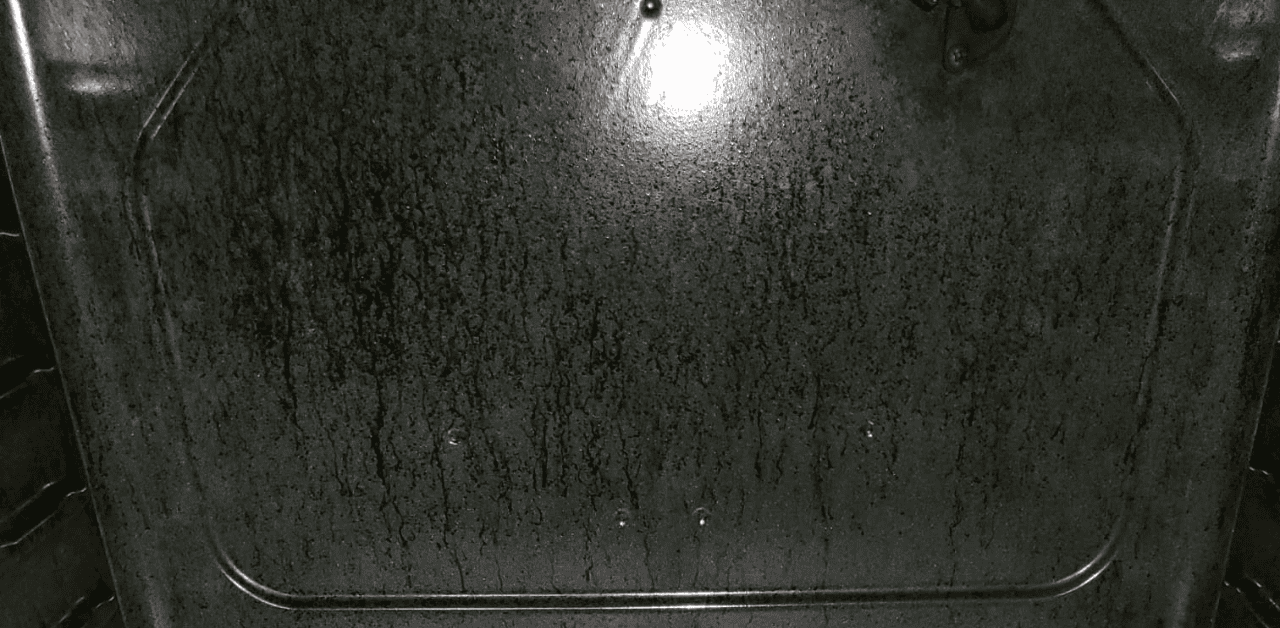
- Oven Age: Over time, the interior of the oven can accumulate grease, dirt, and residue, which can settle on the light bulb’s cover or lens, making it appear dim.
If you find that this light is not working as it should, taking the time to fix the problem can make your life that little bit easier and your culinary creations a lot more enjoyable.
Oven Light Not Working? Fix It with These 5 Steps
When dealing with a dimmed or non-functioning oven interior light, it’s important to prioritize safety. We recommend disconnecting it from the power source before attempting any repairs.
Begin by inspecting and changing the bulb, as this is often the cause of the issue. Next, check and repair the light socket if necessary.
If changing the bulb doesn’t resolve the problem, it may be time to call in a professional for a wiring and electrical inspection. They can evaluate and repair any faulty electrical wiring to fix your light.
If you’re using a GE oven, be cautious about placing weight on the oven door, as it can lead to some serious sponge sinkage and other issues. Sometimes, a burnt-out bulb is a problem, affecting not only the light but also your oven’s performance. Don’t let a simple issue like removing the burnt-out create unnecessary complications.
Rest assured, following these easy steps will help you fix or replace the bulb, restoring proper light functioning.
Prioritize Safety: Disconnect the Oven
Before you start working on the light, make sure the oven is completely turned off and unplugged from the power source. This will prevent any potential electrical accidents while handling the light bulb or other components inside your oven. Remember, even if you aren’t using it, there might still be residual electrical current running through.
Once you have disconnected the power supply, refer to the oven manual to be sure about how you can access and replace the light bulb. Generally, you’ll need to remove a cover or panel to reach the old bulb and replace it with a new one.
Always use caution when handling a new light bulb – avoid touching the glass part with bare hands, as this can cause premature burnout. Once you have installed the new light bulb, reconnect the power source and test if the light is now working properly.
Remember that if you’re unsure about any step or encounter difficulties during this process, it’s always best to seek professional help from experienced technicians. They can provide expert guidance and ensure that all necessary safety precautions are taken throughout the repair process.
Inspect and Replace the Bulb
If you use your oven extensively, this next simple yet crucial step to replace the burnt-out bulb can make your cooking experience smoother and safer.
Before proceeding, make sure the oven is turned off and completely cooled down before beginning any repair. This precaution is crucial, as attempting electrical work on a hot appliance can be dangerous.
Start by opening the door and locating the light bulb. To access the bulb, remove the cover if there is one. Gently unscrew the old bulb counterclockwise and replace it with a new one of the same wattage and size.
Make sure to check your oven’s manual for specific instructions on how to replace the light bulb, as each model may have slight variations.
Still Confused about how to change the bulb? Want to know more details? Don’t worry; I will tell you an easy and comprehensive step-by-step process.
To change the bulb and ensure your light is working optimally, follow these 5 easy and essential steps:
- Remove the screws that secure the light cover in place. With the cover off, you can access the burnt-out bulb. Sometimes, trouble removing the bulb cover might arise due to stubborn screws, but gentle persistence usually prevails.
- Carefully unscrew the old bulb in a counterclockwise direction, being cautious not to use excessive force. The bulb is often located on the right or left side.
- Once it is removed, take a moment to wipe the socket area with a tissue or cotton gloves to remove any grease or residue. This step ensures a good connection for the new oven light.
- Select the appropriate type of bulb, which is usually a standard 40-watt bulb, and gently screw in the new bulb in a clockwise direction. Make sure it’s secure, but avoid overtightening. With the new bulb in place, replace the light cover and secure it with the screws you previously removed.
- Once everything is securely in position, you can turn on your oven to confirm that the light is working.
This easy fix should brighten your cooking experience, allowing you to cook your food perfectly and monitor its progress without opening the door.
Remember, maintaining a functioning bulb not only helps you to keep an eye on your food without opening the door and letting the heat escape, but it also enhances the overall convenience and efficiency of your cooking process.
If, after replacing the bulb, the light still doesn’t work, there may be an issue with wiring or malfunctioning sensors it might be best to consult an electrician or technician for further assistance in diagnosing why the light isn’t working.
Check and Repair the Light Socket
Let’s now shift our focus to the light socket and see if we can get that oven illuminating like new again.
Start by turning off the power supply before inspecting the socket. Carefully remove the bulb and examine both the socket and bulb for any signs of damage or corrosion. If there are any issues, such as a loose connection or a faulty socket, replacing it with a new one may be necessary.
It’s important to choose a replacement that’s compatible with your specific oven model. If you’re unsure about how to proceed, it’s always best to consult an expert technician who can diagnose and repair any problems with the light or other components inside the oven effectively.
Professional Wiring and Electrical Inspection
Consider hiring a professional technician to conduct a thorough wiring and electrical inspection in order to identify any potential issues causing the light to malfunction. A professional wiring and electrical inspection can help pinpoint the exact cause of the problem and ensure that it’s addressed effectively.
Here are some reasons why this is a recommended step:
- Professional expertise: Technicians have the knowledge and experience to detect and repair problems with the wiring.
- Comprehensive inspection: They’ll examine all components connected to the light, such as the control board, sensors, and power supply fuse.
- Identifying hidden issues: Faulty wiring or malfunctioning sensors can be difficult to spot without professional assistance.
- Avoid further damage: Professionals can prevent additional problems by addressing any underlying electrical issues.
- Peace of mind: By hiring a professional, you can trust that the issue will be resolved safely and efficiently.
For same-day repairs, call us to speak with an expert who can fix all makes and models of ovens.
Evaluate and Repair Electrical Wiring
To ensure the smooth functioning of the illumination of your oven, it may be wise to have a skilled technician assess and mend any potential issues with the electrical wiring. When the oven light isn’t working, it could be due to faulty wiring or a malfunctioning sensor. A thorough evaluation of the electrical system is necessary to identify any damaged wires or loose connections that may be causing the problem.
Our professional technicians are experienced in such evaluations and repairs of electrical wiring. By entrusting us with your oven light not working issue, you can have peace of mind knowing that we’ll provide an effective repair solution for its electrical wiring.
Contact Us for Expert Oven Light Bulb Repair Service
If your oven light doesn’t work, it can make cooking a challenging task. Don’t worry; our team is here to help. We have extensive experience in repairing ovens of all makes and models, including fixing broken lights.
Our skilled technicians will carefully evaluate the issue and determine if they need to replace your oven light or if there’s a problem with the wiring or sensors. Once we locate your oven light, we’ll replace the cover and install a new bulb. Afterward, we’ll test the new light to ensure it’s functioning properly.
Trust us to repair your oven and get it back in working order. Call us at (888) 316-7773 for same-day on-site repairs.
Frequently Asked Questions
How much does it cost to repair an oven light?
Can I replace my oven’s light myself?
How long does it take to repair an oven bulb?
Are there any DIY solutions to fix a dimmed oven interior light?
What other issues can cause the oven interior light to not work?
Conclusion
In conclusion, if you’re experiencing issues with the interior light of your oven, it’s crucial to identify the underlying cause. A burned-out bulb is a common culprit, but faulty wiring or malfunctioning sensors could also be to blame. Remember to prioritize safety and avoid accessing the light.
To ensure a timely and effective repair, it’s best to reach out to a professional technician who can assess the problem on-site.