You can fix a dryer that’s not spinning by checking power and electrical issues, such as a tripped breaker or damaged power cord, and inspecting the drum and belt condition for breaks or wear. Diagnose motor and pulley problems by checking electrical continuity and testing motor rotation. Perform maintenance and cleaning tasks like cleaning the exterior vent and vacuuming dust and lint buildup. Identify and replace faulty components, such as a broken drive belt or defective motor. By addressing these potential causes, you’ll be able to pinpoint the problem and take the first step toward a successful repair solution.
Quick Overview: Common Issues and Fixes for a Non-Spinning Dryer
5 Simple Solutions for a Non-Spinning Dryer
- Save time and prevent electrical issues by quickly checking power connections and circuit breakers – a simple reset often gets your dryer running again in minutes.
- Keep your dryer running smoothly by inspecting the drum and belt – catching wear and tear early prevents costly repairs and extends your appliance’s life.
- Restore proper operation by addressing motor and pulley issues – regular checks prevent unexpected breakdowns and keep your laundry routine on track.
- Maintain optimal performance through simple cleaning – regular vent maintenance prevents fire hazards and reduces energy costs while ensuring faster drying times.
- Extend your dryer’s lifespan by promptly replacing worn parts – addressing issues like broken belts or motor problems helps avoid more expensive repairs later.
Step 1: Check Power and Resolve Electrical Issues in Dryers
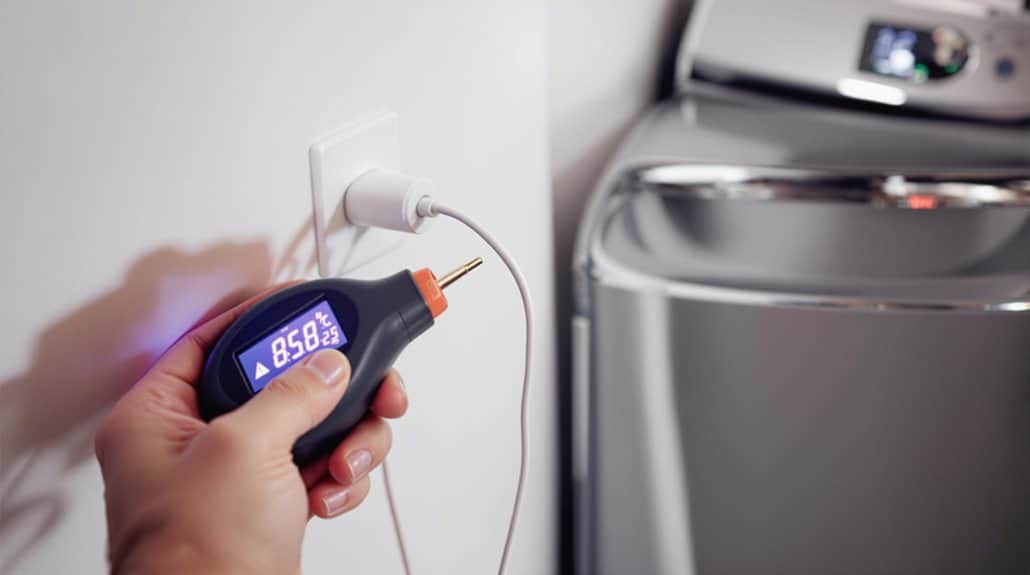
When your dryer won’t spin, the first thing to check is the power supply. You want to make certain it’s receiving power, so verify that the dryer is plugged in properly and inspect the power cord for damage or fraying. Next, head to the electrical panel to check for tripped breakers or blown fuses. If you find one, reset or replace it as necessary. A multimeter will be used to test the outlet and confirm the power supply. Check the dryer’s thermal fuse as a tripped thermal fuse can also prevent the dryer from spinning. Don’t forget to check the circuit breaker, reset any tripped switches and replace blown fuses. Ascertain the circuit isn’t overloaded with other appliances, and consider running the dryer on a dedicated circuit.
Step 2: Inspect the Drum and Belt for Wear and Tear
Your dryer’s drum and belt condition can greatly affect its performance. To inspect the drum and belt, unplug the dryer, remove the top and front panels, and locate the belt looped around the drum under the idler pulley wheel. Check the belt for signs of damage or wear, and verify its correct position on the pulleys and drum. Also, inspect the drum rollers and axles for wear or misalignment. The idler pulley applies tension to the belt for proper grip.
| Components | Signs of Wear | Action Required |
|---|---|---|
| Drive Belt | Breaks, cracks, or fraying | Replace the belt |
| Drum Rollers | Wear or misalignment | Replace the rollers |
| Drum Axles | Wear or deterioration | Replace the axles |
Proper belt tension and roller alignment are vital to maintaining your dryer’s performance. Confirm all supporting components are in good condition to prevent strain on the drive motor.
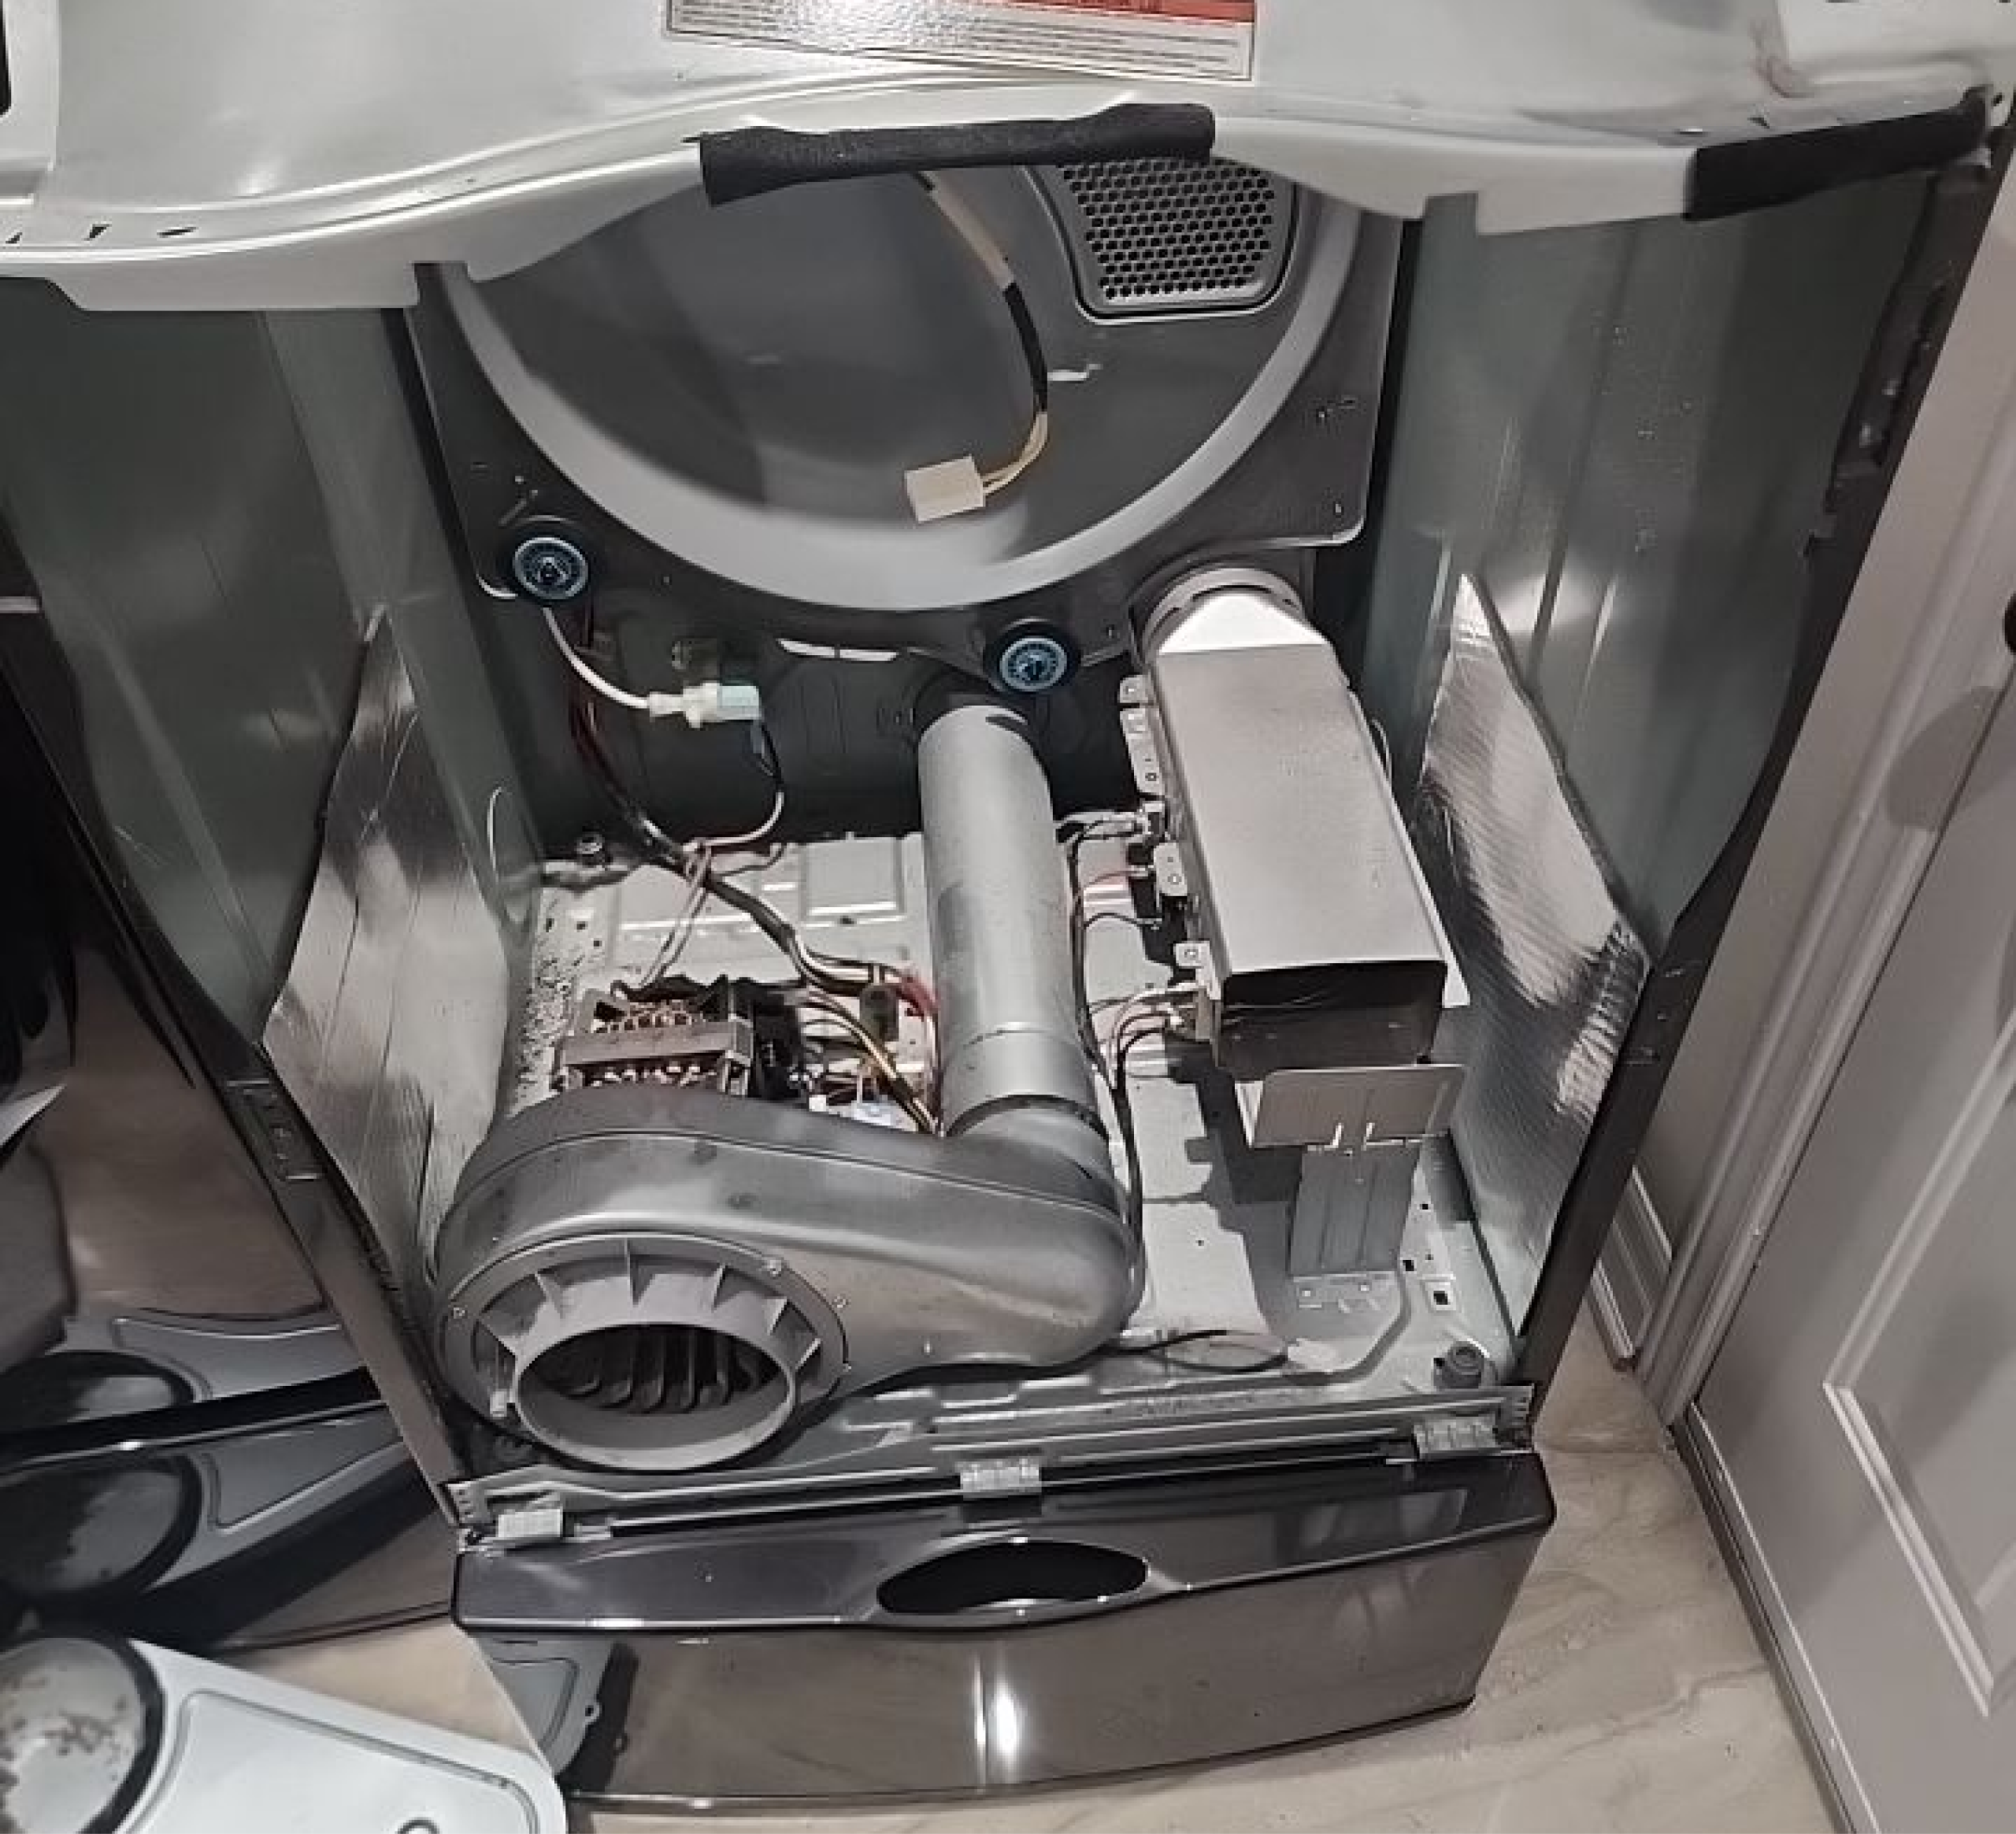
Step 3: Diagnose Motor and Pulley Problems

Having confirmed the drum and belt condition, it’s time to focus on motor and pulley issues. To diagnose motor failure, inspect the blower wheel for obstructions and test motor rotation by turning the wheel freely by hand. Check electrical continuity with a multimeter and listen for unusual noises that may indicate motor failure. Next, perform a pulley inspection, beginning with the idler pulley to guarantee proper tension on the belt. Visually inspect the belt and pulleys, and replace any damaged components. Adjust pulley tension to prevent the drive belt from coming off. Access the motor pulley and check the clip for any issues. Conduct motor testing by spinning the drum after repairs. Proper motor testing and pulley inspection help guarantee smooth drum rotation and prevent future problems.
Step 4: Identify and Replace Faulty Components in Your Dryer
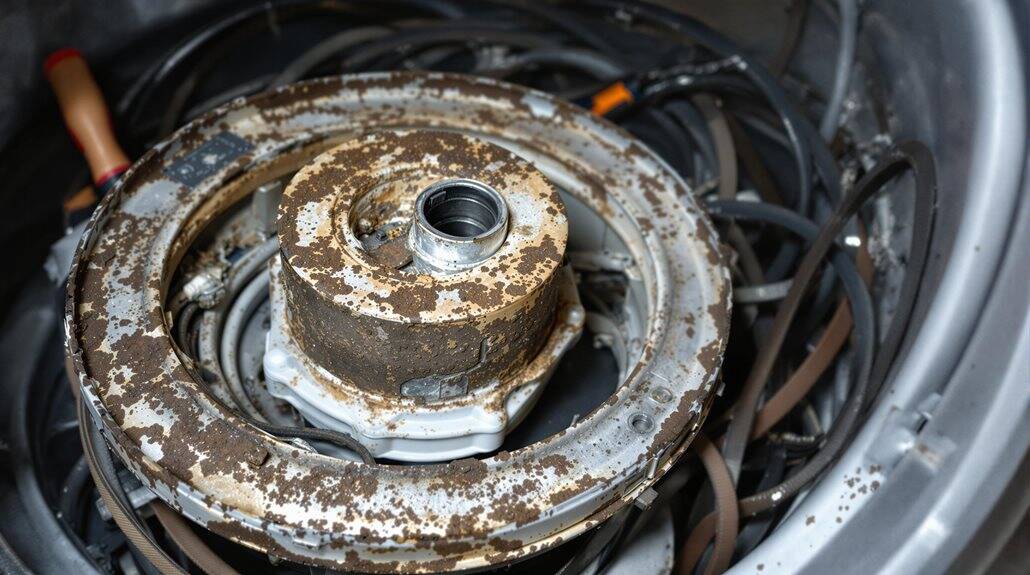
Even with regular maintenance and cleaning tasks, your dryer may still experience issues that prevent it from spinning. If you’ve checked the power and electrical connections, it’s time to identify and replace faulty components. You’ll need to inspect the mechanical, motor, and other critical components to determine the source of the problem.
| Faulty Component | Replacement Options |
|---|---|
| Broken drive belt | Replace with a new drive belt |
| Defective motor | Replace with a new motor or contact a professional |
| Faulty drum rollers | Replace with new drum rollers or refurbish existing ones |
| Malfunctioning electronic control board | Replace with a new control board or contact a professional |
Regular maintenance can also help prevent mechanical failures by identifying potential issues before they cause the dryer to malfunction.
Perform Routine Maintenance and Cleaning Tasks
Regularly performing maintenance and cleaning tasks on your dryer plays an essential role in guaranteeing it runs efficiently and effectively. To maintain dryer efficiency, start by cleaning the exterior vent for impediments and disconnect the flexible exhaust duct from the wall to vacuum out dust and lint. You should also clear the lint screen before every load to maintain airflow and wash it with water and a soft bristle brush to remove fabric softener residue. Effective lint removal helps to prevent overheating and guarantees your dryer runs smoothly. Additionally, balance and level the dryer by adjusting the feet to prevent uneven wear, and vacuum behind and underneath the dryer every few months to remove dust and lint, further maintaining dryer efficiency.