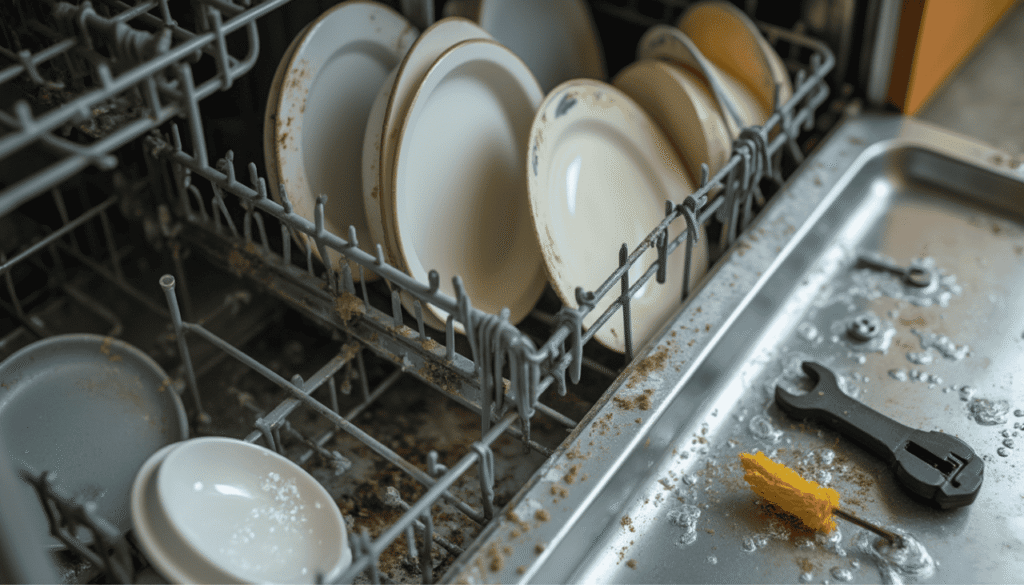
To diagnose a leaking dishwasher, first identify the source by checking common locations like door seals, pump seals, and internal hoses. Inspect for puddles, water damage, and worn gaskets. Address door-related issues by examining seals, latches, and hinges for wear or misalignment. For internal leaks, assess pumps, motors, spray arms, and water distribution components. Tighten loose connections and replace damaged parts as needed. Regular maintenance, including cleaning filters and inspecting hoses, can prevent future leaks. Proper diagnosis and timely repairs are essential to avoid extensive water damage and costly repairs. Further exploration of specific repair techniques can enhance your dishwasher troubleshooting skills.
Key Takeaways
- Inspect common leak locations: door seal, pump seal, tub seal, blocked drain pumps, and dishwasher perimeter and base.
- Identify leak type by assessing puddle size, location, frequency, and extent of water damage.
- Check accessible components like drain hose and float switch, and inspect for overloading or clogged filters.
- Examine door seal for cracks, wear, misalignment, or debris, and address latch and hinge issues.
- Diagnose internal component leaks by inspecting pump systems, spray arms, and internal hoses for damage or blockages.
Identifying the Source of the Leak

Identifying the source of a dishwasher leak requires a systematic approach. Begin by examining common leak locations, such as door seals, hoses, and pump assemblies, while noting specific signs associated with different types of leaks.
One of the most common causes of leaks is a faulty door gasket, which can be easily inspected for wear or damage. Employ a process of elimination by isolating components and running test cycles to pinpoint the exact origin of the water escape.
Common Leak Locations in Dishwashers
The detective work begins when tracking down a dishwasher leak. Common locations include the door seal, pump seal, and tub seal. Water may escape from the front door or accumulate under the unit.
Blocked drain pumps can also lead to water pooling at the bottom of the dishwasher, indicating a potential leak source. Regular maintenance of these components can prevent many leakage issues.
Carefully inspect these areas for signs of wear, damage, or improper installation. Fellow homeowners, scrutinize the dishwasher’s perimeter and base, as leaks often manifest in these pivotal spots.
Signs of Different Types of Leaks
With careful observation, homeowners can pinpoint the source of a dishwasher leak by recognizing specific signs associated with different types of leaks. Consider the following indicators:
- Puddle size and location
- Frequency of leaks and consistency of leakage
- Water damage extent and leak rate
- Door gasket condition
- Hose gasket integrity
- Water inlet valve performance
Regular maintenance and cleaning of key components like filters and drain pumps can prevent many leaks from occurring. Familiarity with the dishwasher’s drainage system is vital for effective troubleshooting.
Analyze these factors to determine whether the issue stems from a faulty door seal, loose connections, or internal component malfunction. This knowledge empowers homeowners to address leaks effectively.
Using the Process of Elimination
Once armed with knowledge about various leak indicators, homeowners can employ a systematic approach to pinpoint the exact source of a dishwasher leak. Begin by checking easily accessible components like the drain hose and float switch. Inspect for overloading, clogged filters, or a blocked drain.
Common drainage issues include kinked or damaged drain hoses and problems with the air gap or garbage disposal. Examine hoses for kinks or damage. Conduct regular inspections and seal replacements to prevent future leaks. This methodical process helps identify and resolve issues efficiently.
Door-Related Leaks and Solutions
Door-related leaks in dishwashers often stem from issues with the door seal, latch, hinges, or alignment. A thorough inspection of the door gasket for wear, damage, or debris is vital, followed by cleaning or replacement if necessary.
If your dishwasher door won’t close properly, this can also lead to leaks and should be addressed promptly. Proper door alignment and secure latching mechanisms are equally important to guarantee a watertight seal during operation, and adjustments to hinges or latches may be required to address persistent leaks.
Inspecting and Replacing the Door Seal
The door seal, or gasket, plays a critical role in preventing water leakage from your dishwasher. Regular inspection and maintenance can prevent water damage and costly repairs.
Troubleshooting leaks often starts with examining the door seal, as it’s a common source of water escaping from the appliance. When inspecting the door seal, look for:
- Cracks or tears
- Signs of wear and tear
- Misalignment
- Loose or detached sections
- Debris accumulation
If issues are found, replace the door seal promptly. Guarantee proper installation and alignment for a tight, watertight seal. Apply a thin layer of silicone sealant to enhance the seal’s effectiveness.
Addressing Latch and Hinge Issues
Beyond the door seal, issues with the latch and hinges can greatly contribute to dishwasher leaks. A faulty door latch or worn hinges may prevent proper sealing, while improperly adjusted door springs or tension rods can compromise the seal.
In some cases, a dishwasher won’t unlock, which can lead to leaks if the door isn’t fully closed. This issue may be caused by a malfunctioning latch mechanism or electrical problems. Accumulated debris in the latch mechanism can also cause leaks.
To resolve these issues, inspect and replace damaged components or consider a professional repair service for your leaking dishwasher.
Proper Door Alignment Techniques
Proper door alignment plays a significant role in preventing dishwasher leaks. Regularly check the door seal for signs of wear or damage. To maintain ideal alignment:
- Carefully inspect the hinges and latch mechanism
- Quickly fix any loose screws or brackets
- Mend or replace worn gaskets promptly
- Restore proper door tension
- Perform routine maintenance on door components
Troubleshooting leaks often begins with examining the door and its components. A misaligned or damaged door can lead to water escaping during the wash cycle, potentially causing significant damage to your kitchen floor and cabinets. These steps guarantee a tight seal, preventing water escape during operation. Consistent upkeep reduces the risk of leaks and extends the dishwasher’s lifespan.
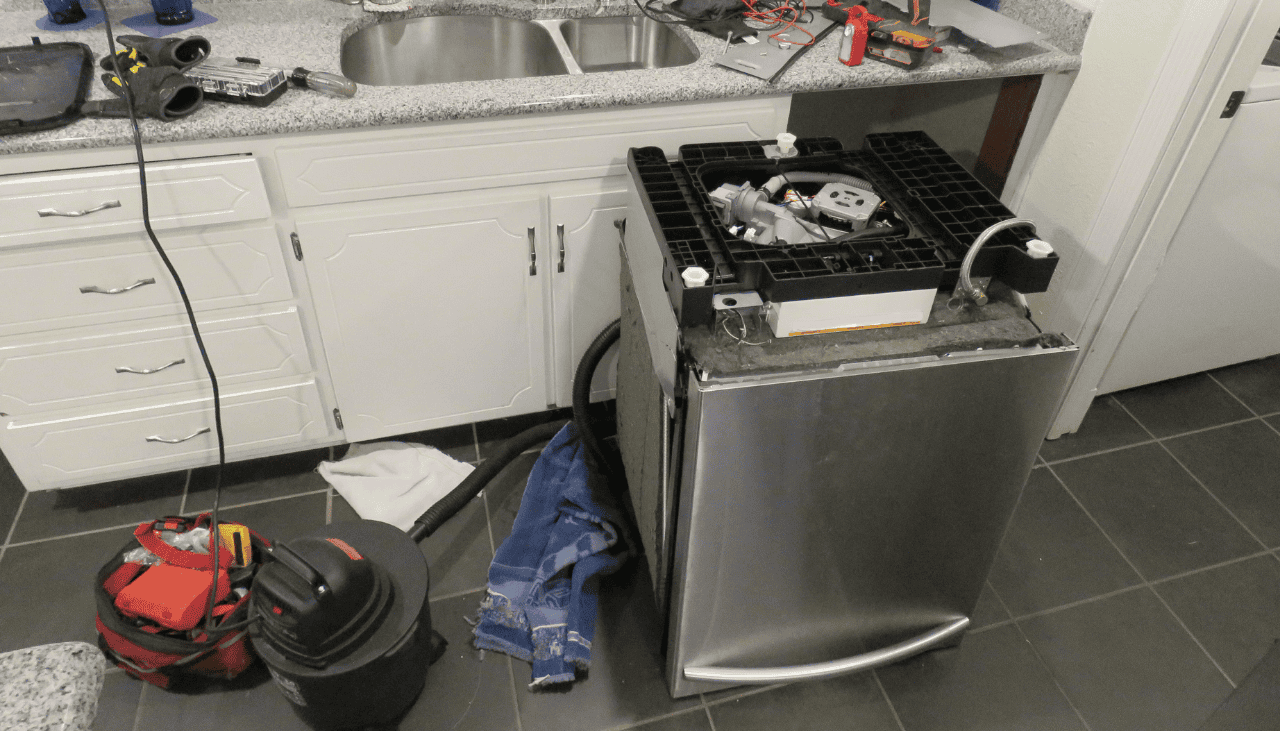
Internal Component Leaks
Internal component leaks in dishwashers can stem from various sources, including the pump, motor, spray arms, and internal hoses.
Common causes of leaks often involve worn-out seals or gaskets, which can deteriorate over time due to regular use and exposure to water and detergents. Identifying the specific source requires a systematic inspection of each component, checking for signs of wear, damage, or malfunction.
Once the problematic component is located, appropriate repair or replacement measures can be implemented to resolve the leak and prevent further water damage.
Diagnosing Pump and Motor Leaks
Diagnosing pump and motor leaks in a dishwasher requires a systematic approach to identify internal component issues. Focus on these key areas:
- Inspect water pump system for damaged hoses and clamps
- Check float switch functionality
- Examine diverter motor for leaks
- Assess heating element for damage
- Verify secure electrical connections
When addressing pump and motor leaks, consider water pressure, spray arm function, and hose tightening. Drain pump failures can often be identified by unusual noises or water pooling at the bottom of the dishwasher.
Clean buildup regularly and inspect the water supply and drain connection. Professional servicing may be necessary to prevent damaged dishes and further issues.
Addressing Spray Arm and Water Distribution Issues
Ensuring proper water distribution within your dishwasher is essential for preventing internal component leaks. Inspect spray arms for secure attachment and blockages, using a screwdriver, pliers, or wrench as needed. Clean blocked spray arms with dishwasher cleaner to improve performance. Check the diverter motor and heating element for proper function.
| Component | DIY Feasibility | Impact on Performance |
|---|---|---|
| Spray Arms | High | Crucial |
| Diverter Motor | Moderate | Significant |
| Heating Element | Low | Important |
Checking and Replacing Internal Hoses
While addressing spray arm issues is important, another common source of dishwasher leaks lies within the internal hoses. Regular maintenance and inspection for cracks or damage can prevent water damage.
If your dishwasher is not getting water, it could be due to a faulty internal hose or valve. Proper troubleshooting of the water supply system is essential for ideal dishwasher performance.
When checking internal hoses:
- Inspect for visible wear, cracks, or loose connections
- Tighten any loose hose connections
- Check valves for proper functioning
- Replace faulty or damaged hoses promptly
- Consider professional repair for complex issues
Plumbing and Connection Problems
Plumbing and connection problems can be significant sources of dishwasher leaks, requiring careful inspection and troubleshooting. Key areas to examine include the water inlet valve, which controls water flow into the appliance, and the drain hose, which may develop cracks or become disconnected over time.
Common causes of leaks often stem from these components, so it’s crucial to inspect them thoroughly during the troubleshooting process. Furthermore, issues with garbage disposal connections and air gap installations can lead to water leakage, necessitating a thorough check of these components and their associated fittings.
Examining the Water Inlet Valve
The water inlet valve plays an essential role in the dishwasher’s operation, controlling the flow of water into the appliance during wash cycles. A malfunctioning valve can cause leaks, often due to worn gaskets, damaged hoses, or loose fittings.
Common causes of leaks can include plumbing and connection problems, which may require professional assistance to resolve. To diagnose issues:
- Check for visible moisture or rust
- Inspect gaskets and hoses for cracks
- Guarantee proper tightening of fittings
- Verify secure supply hose connections
- Consider valve replacement if faulty
Proper installation and maintenance of the water inlet valve are essential for preventing future leaks and ensuring ideal dishwasher performance.
Troubleshooting Drain Hose Issues
Drain hose issues can significantly contribute to dishwasher leaks and require thorough investigation. Check for improper installation, particularly at the drain connection and air gap. Inspect the hose for clogs or kinks that impede water flow.
If you suspect a clog, you may need to unclog the drain hose using specialized techniques to restore proper water flow. Thoroughly clean the filter and guarantee the hose isn’t pinched against the dishwasher base. A compromised drain hose can affect the entire plumbing system, so address any issues swiftly to prevent further damage.
Addressing Garbage Disposal and Air Gap Connections
Proper connections between the dishwasher, garbage disposal, and air gap are pivotal for preventing leaks and guaranteeing excellent performance. Address these key areas to avoid water damage:
- Secure and properly slope drain line toward disposal
- Check for loose or improper installation at the disposal connection
- Inspect and clean air gap to prevent backflow
- Replace worn seals and gaskets at the disposal-dishwasher interface
- Regularly examine plumbing connections for potential issues
Troubleshooting a leaking dishwasher often involves checking these essential connections. Improper installation or worn components in these areas can lead to significant water damage if left unaddressed.
Maintaining these components will help safeguard your kitchen from dishwasher-related leaks and ensure ideal functionality.
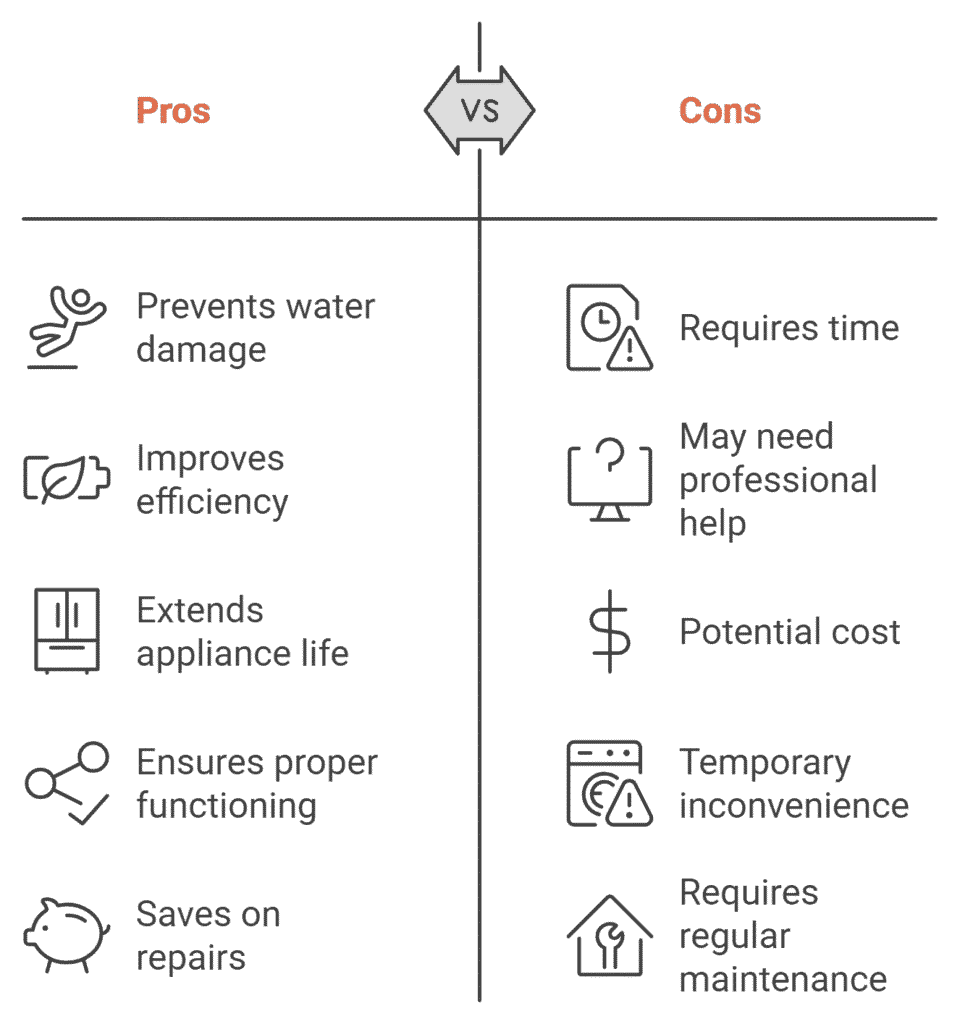
Preventive Measures and Maintenance
Regular maintenance and preventive measures are indispensable for avoiding dishwasher leaks and water damage. Implement a consistent inspection routine to check for worn seals, loose connections, and filter clogs. Understanding common causes of leaks can help you identify potential issues early.
Proper loading techniques, such as avoiding overloading and ensuring dishes do not obstruct spray arms, can greatly reduce the risk of leaks while scheduling professional maintenance annually can address potential issues before they escalate.
Establishing a Regular Inspection Routine
To safeguard your dishwasher against leaks and potential water damage, establishing a regular inspection routine is crucial. Implement a comprehensive checklist that includes:
- Monthly door gasket inspection
- Regular filter cleaning
- Annual water inlet valve and hose check
- Float switch functionality test
- Professional maintenance every 12-24 months
Proper loading techniques can also contribute to preventing leaks and guaranteeing peak performance. By positioning dishes correctly, you allow for better water circulation and reduce the risk of water overflow.
This routine helps identify issues early, preventing costly repairs. Focus on key components like the filter, water inlet valve, hoses, and float switch. Consider warranty status and potential replacement needs during professional maintenance to ensure flawless operation.
Proper Loading Techniques to Prevent Leaks
Loading your dishwasher correctly plays a crucial role in preventing leaks and maintaining excellent cleaning performance. Proper loading techniques involve considering water hardness and mineral content, preserving cleanliness of both dishwasher interior and exterior, and arranging dishes to optimize water flow.
Understanding dishwasher drying mechanisms can help you position items for ideal drying results. Placing utensils in designated holders and positioning plates and bowls towards the center guarantees better water circulation. Avoid overloading, which can impede the appliance’s ability to clean efficiently. Secure items and ensure they are not blocking spray arms. Keep the door seal area dry and free from debris.
When to Schedule Professional Maintenance
For reliable service, consider scheduling professional maintenance with certified technicians who can diagnose and address issues quickly.
Schedule professional maintenance:
- Every 12-18 months for routine overhaul
- When experiencing persistent leaks
- If you notice unusual noises or odors
- Before moving to a new home
- When your warranty is nearing expiration
Call a professional for preservation and to address complex issues beyond DIY capabilities.